I see you. You’re staring at your Linux terminal, maybe you’ve got five different browser tabs open, each one telling you something slightly different about installing Kodi. One guide says use apt, another swears by Flatpak, someone’s talking about PPAs, and meanwhile you just want to watch your media collection on a nice interface. Your frustration is completely valid—installing software on Linux shouldn’t feel like decoding ancient scrolls, yet here we are.
The truth is, the Linux community’s greatest strength—flexibility and choice—often becomes its most intimidating feature for newcomers. When it comes to Kodi, this problem multiplies because everyone has their “preferred” method, and they all assume you know what they’re talking about. But you don’t need to be a Linux expert to get Kodi running smoothly. Let’s cut through the noise together and find the path that actually works for you.
Source of Overwhelm #1: Too Many Installation Methods
Why it’s confusing: Open any Kodi installation guide and you’ll immediately encounter a barrage of options: official repositories, PPAs, Snap packages, Flatpak, AppImages, and compiling from source. Each method has advocates who insist theirs is “the best way,” leaving you paralyzed by choice. You don’t know what these terms mean, let alone which one you should use.
The clear solution: For 95% of users, your Linux distribution’s official repository is the answer. It’s the simplest, most stable option that requires zero extra setup. Here’s how to do it:
Open your terminal and type these commands based on your distribution:
For Ubuntu, Debian, Linux Mint, Pop!_OS:
sudo apt update
sudo apt install kodi
For Fedora:
sudo dnf install kodiFor Arch Linux or Manjaro:
sudo pacman -S kodiThat’s it. Type the command, enter your password when prompted, press Y to confirm, and wait. In three minutes, Kodi will be installed. The version might not be the absolute latest, but it will be stable, tested, and perfectly functional. Don’t let anyone convince you that you need the bleeding-edge version—you probably don’t.
Source of Overwhelm #2: Confusing Terminal Commands
Why it’s confusing: If you’re new to Linux, the terminal feels like a black box. What does “sudo” mean? Why do some guides use “apt-get” and others use “apt”? What if you make a typo and break something? The fear of doing permanent damage keeps you from even trying.
The clear solution: First, breathe. The terminal is just a tool, and these commands are incredibly safe. “Sudo” simply means “run this as administrator”—it’s like clicking “yes” when Windows asks for permission. As for apt vs apt-get, they do the same thing; apt is just newer and friendlier. A typo won’t break your system; at worst, you’ll get an error message and need to retype.
Here’s your foolproof process:
- Copy the installation command for your distribution (from above)
- Open your terminal (usually Ctrl+Alt+T)
- Right-click in the terminal and select “Paste”
- Press Enter
- Type your user password (the cursor won’t move, but it’s recording your keystrokes)
- Press Enter again
- When asked to confirm with Y/n, type Y and press Enter
That’s all you need to know. Follow these steps exactly, and you can’t go wrong.
Source of Overwhelm #3: Dependency Nightmares
Why it’s confusing: Some guides mention installing dependencies, additional libraries, or enabling specific repositories. You start seeing error messages about “unmet dependencies” or “missing packages,” and suddenly you’re deep in a rabbit hole of technical jargon, trying to figure out what libva-drm2 is and why your life depends on it.
The clear solution: When you install Kodi through your distribution’s official package manager (using the commands above), dependencies are handled automatically. The package manager is smart—it knows what Kodi needs and installs everything in one go. You don’t need to think about it.
If you somehow encounter a dependency error (rare with official repos), don’t panic. Run this single command:
sudo apt install -f(Or sudo dnf install -f for Fedora, sudo pacman -Syy for Arch)
This tells your system to fix any dependency issues automatically. Think of it as an “auto-repair” button. Let the computer do the computer work.
Source of Overwhelm #4: Post-Installation Configuration
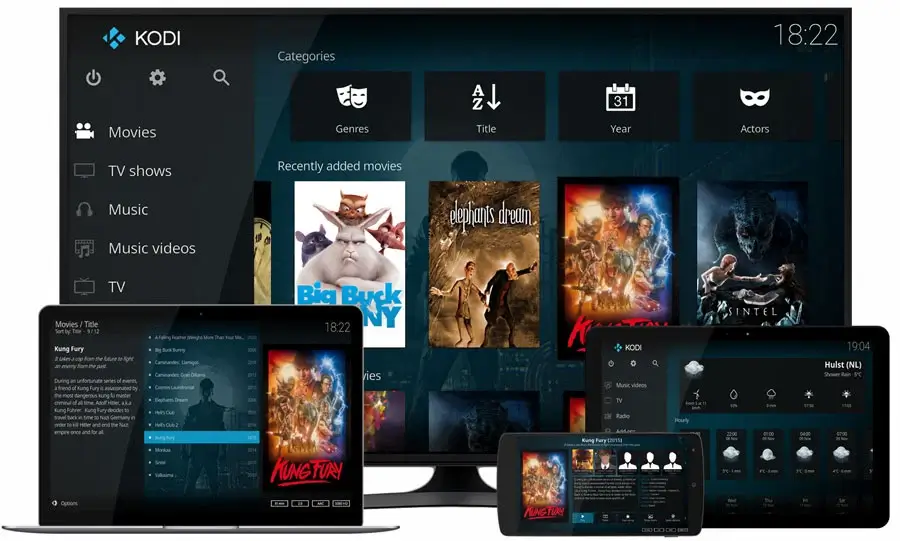
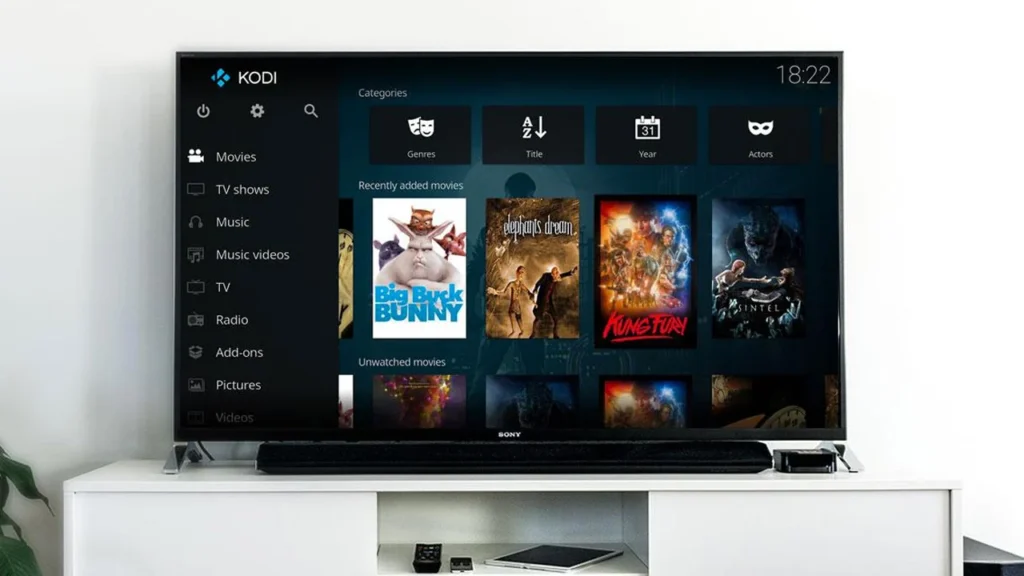
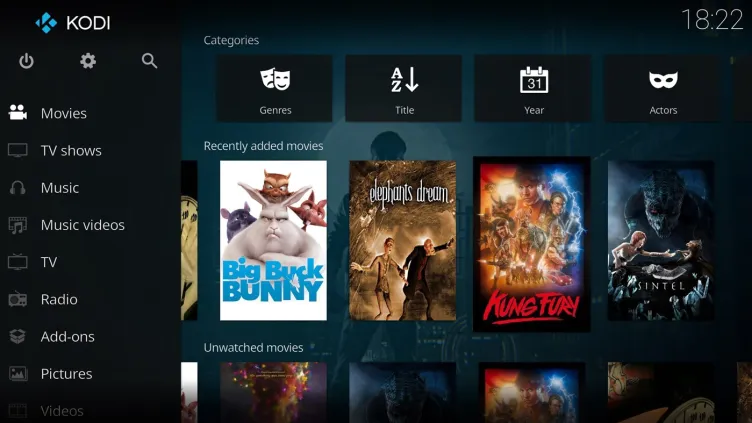
Why it’s confusing: You’ve successfully installed Kodi, launched it for the first time, and now you’re staring at a beautiful but empty interface. Guides start talking about “skins,” “add-ons,” “scrapers,” “library management,” and suddenly you’re overwhelmed again. You just want to point Kodi at your Movies folder and start watching.
The clear solution: Ignore 90% of what the advanced guides tell you. For your first setup, you need exactly three steps:
Step 1: Launch Kodi from your application menu (it’s now there alongside your other programs).
Step 2: Click “Movies” or “TV Shows” on the main screen, then click “Enter files section,” then “Add videos.”
Step 3: Click “Browse,” navigate to where you store your media files (probably your home folder or an external drive), select the folder, click OK, then click OK again. When asked if you want to set content, click “Yes,” choose the type (Movies or TV Shows), and click OK.
That’s your basic setup. Kodi will now scan your media and display it beautifully. Everything else—custom skins, fancy add-ons, advanced settings—is optional decoration you can explore later, once you’re comfortable with the basics.
Source of Overwhelm #5: Version Confusion and Updates
Why it’s confusing: You see Kodi version numbers everywhere—19.5 Matrix, 20.0 Nexus, 21.0 Omega—and you’re not sure which one you have or should have. Then there’s anxiety about updates: Do you need to manually update Kodi? Will your add-ons break? Should you stick with your current version forever?
The clear solution: Your package manager handles updates automatically along with your other system updates. When you run your regular system updates (which you should do weekly), Kodi updates too. You don’t need to think about it separately.
To update everything at once, just run:
sudo apt update && sudo apt upgradeThis updates your entire system, including Kodi, in one command. Safe, simple, automatic.
Your Path Forward
You’ve made it through the confusion, and here’s what I want you to remember: Linux isn’t about knowing everything—it’s about knowing enough. You don’t need to understand every technical detail to use Kodi successfully. You don’t need the latest version, the most complex setup, or the “expert” installation method.
What you need is simple: a working installation, your media library connected, and the confidence to enjoy what you’ve built. Everything else is optional, and you can learn it gradually if you choose to, not because you have to.
Right now, open that terminal. Pick the command for your distribution. Run it. In five minutes, you’ll be watching your favorite content on Kodi, wondering why you waited so long. The overwhelm you felt wasn’t a reflection of your abilities—it was a reflection of how information was presented to you. Now you have clarity. Now you have a path.
Embrace the simplicity. You’ve got this.